Showing posts with label DIY projects. Show all posts

Friday, December 14, 2012

December Daily 2012...

I have a GOAL...I am documenting all of December....I am recording my families daily memories...

I have set in mind that this December I am completing....December Daily...


Have you heard of December Daily? Well...it is just quite an awesome little idea started by the talented Ali Edwards

Here is what she says about it:
December Daily is an album project that documents the 25 days leading up to Christmas. Many people start their documentation earlier and many people go longer. I have found that 25 days is just right for me.
  It is a chance to reflect, to share, to celebrate the season in a manageable, in-the-moment way. The entire key to this album is to put it together BEFORE December. 

I can say that I have always wanted to do December daily but was never on top of my scrapbooking game to have the album done before December....really? Well this year I said I was doing it....so Dec. 1 rolled around...bought snacks, energy drinks, and headed to ashley's scrap room and we began the process of creating our albums! It took a little while for me to get rolling, but once I did....I was on a roll!!
 I was motivated and on a mission....because I know me....if I didn't complete all the pages ahead of time...there would be no way during my busy weeks....I would be able to document each day and scrapbook a page. This way everything is pretty much done....print some pics out, grab some washi tape, a few mementos from the day, do a little journaling and you are done!! I have to say 14 days into in and I am loving it and it is getting me excited about daily scrapbooking!

Here are a few pics I took with my phone, but this weekend I plan to take out my good camera and get some better pictures of the book....

The foundation of the book....all the mini pages....I choose to used various size pages....no specific theme...just all blends together! I love multiple layers and various textures...so I am not surprised by book turned out this way!

Outside cover of my December Daily Album (I used an 8.5x11 canvas album from Pink Pasilee)

Day 1 of December Daily


I will be posting throughout the month of december my various pages....and by the weekend I hope to have better pictures up here!

Happy Holidays!!
Vera

Thursday, September 6, 2012

A Vintage Wedding + A Hurricane!

Hey bloggers!

Hope you all enjoyed your long Labor Day weekend (and if you are from my neck of the woods...south Louisiana....that is...you have been off for probably more than just an extended weekend!!) Can we say...Hurricane Isaac....you sucked (even though they only called you a CAT 1) .... many South Louisiana residents are still with out power and our children have been out of school for well over a week!

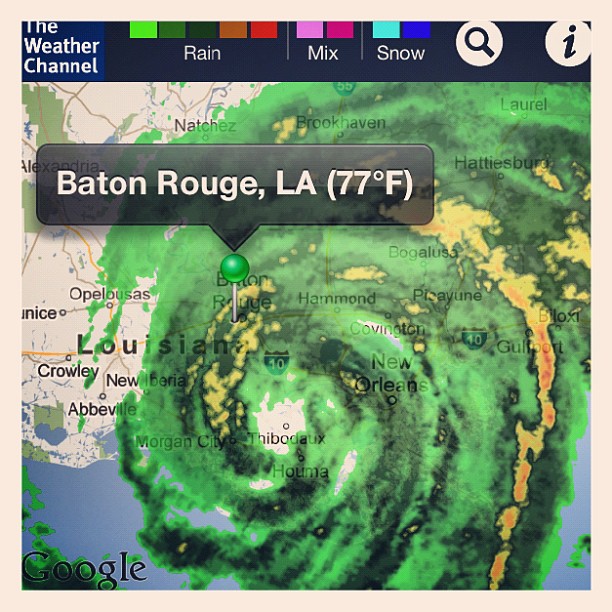
Thank you Jesus...my family was safe and we fared pretty well in Thibodaux, LA....our little city popped up on the map quite a few times....because the eye of the storm came straight through good ole Thibodaux! Which if you haven't been through a hurricane before...when the eye comes through....the sun comes out, the wind stops, the rain stops, and you get a little calmness for a few hours...in our case...we were blessed....the eye stalled...yeah stalled....I mean practically STOP....and it was beautiful weather at my house for almost 6 hours! Hurricanes usually move pretty fast, so for the eye to stay over us for that long was pretty crazy! I am counting my blessings this week because so many people very near to us...were not so lucky...levees breaching, homes flooding, roof damages, buildings and schools with lots of damages....my prayers go out to them!

Look directly at the center of the storm...you will see how Thibodaux is in the middle of the eye...as Isaac was blowing over Louisiana.


This was me and the kiddos during the eye of the storm...standing in our front yard...despite all the strong wind...our house stood strong and we were safe...thank you Jesus!


So before the storm blew in...I tackled a big project....decorating/crafting/floral design for a friends wedding!! The entire wedding was vintage through and through and of course I love nothing more than that...so I was in my element and I never considered it work at all!! It was just plain fun!! Don't get me wrong...a DIY wedding is a lot of hard work, but a lot of fun to say the least!

So I wanted to share with my fellow bloggers a few sneak peaks of the wedding decor...the pictures from the photographer haven't come in yet, but these pictures are taken by one of my friends who is a photographer and some of them are taken by me. Hope you enjoy and leave inspired!

The cake!! Ahhhh I loved the way the cake turned out!! First, things first...the cake was made by Little Cakes with Big Attitudes which is located in Alexandria, LA. Isn't this just adorable? The entire wedding was full of sweets...not just wedding cake! Every kind of sweet you can imagine...so Little Cakes did her wedding cake below plus lots of cupcakes!!!


 The burlap flower was super easy to make...you can click here for a great tutorial from the House of Smiths Blog. 

The Flowers....awwwhhhhh.....quite a task....a labor of love....but they came out great! I will forever love working with flowers...it is just something that I never get tired of...and each time I do it...I learn more and more! So what kind of flowers did we use...well first and foremost...lots of garden roses (which came all the way from Ecuador!! Yeah...that's right...all the beautiful pink roses you see are a specialized garden rose straight from Ecuador!  All of the other flowers were bought in the US....actually alot of the roses, carnations, and baby's breath were ordered from Sam's...yup...that's right...you can order large quantities from them for a great price and it will ship straight to you!!
This is a picture of some of the bridesmaids bouquets.  

The wedding took place in Washington, Louisiana...have you guys ever been there? Well, well, well if you haven't take a little day trip...it is worth it!! It is about a 30 min drive from Lafayette and I can say I know I will be going back again!! From Thibodaux it is at least a 2 hour drive, but really worth it! I mean while you are in the area you can visit some other great places (maybe...Breaux Bridge too...one of my favs!)
Washington is that kind of town that allows you to step into another time in history...so much of the little town has been preserved and one of the most popular sites there is the the Old School House Antique Mall....which is over 40,000 square feet of antique shopping!! I was so busy doing the wedding that I didn't get to stop by...but I am planning on going by soon!

 Here were some flowers right when you walked into the entrance of the building. The wedding venue was awesome to say the least! It was at an old building that had been completely restored....wood floods, exposed bricks, large wood beams running across the ceilings....you get my drift!!?

 Display set up right by the flower arrangement when you walk into the entrance.

 I used tin cans to also decorate and put flowers or greenery in...the mother of the bride...began saving large tin cans for me a few months prior to the wedding and that worked out really well...besides using vintage bottles and vases we were able to have another type of vase!

 This picture is of me holding one of the bridal bouquets...I just fell in love with those garden roses...plus...they are the best smelling roses you will ever smell!!


 Here is a picture of the bridesmaids...the bride let them all pick out there own dresses...as long as they stayed within the pale pink/blush colors she had picked out! Sad... but I don't have a picture of the bride yet....as soon as I do...I will post Ms. Kira Davidson!!


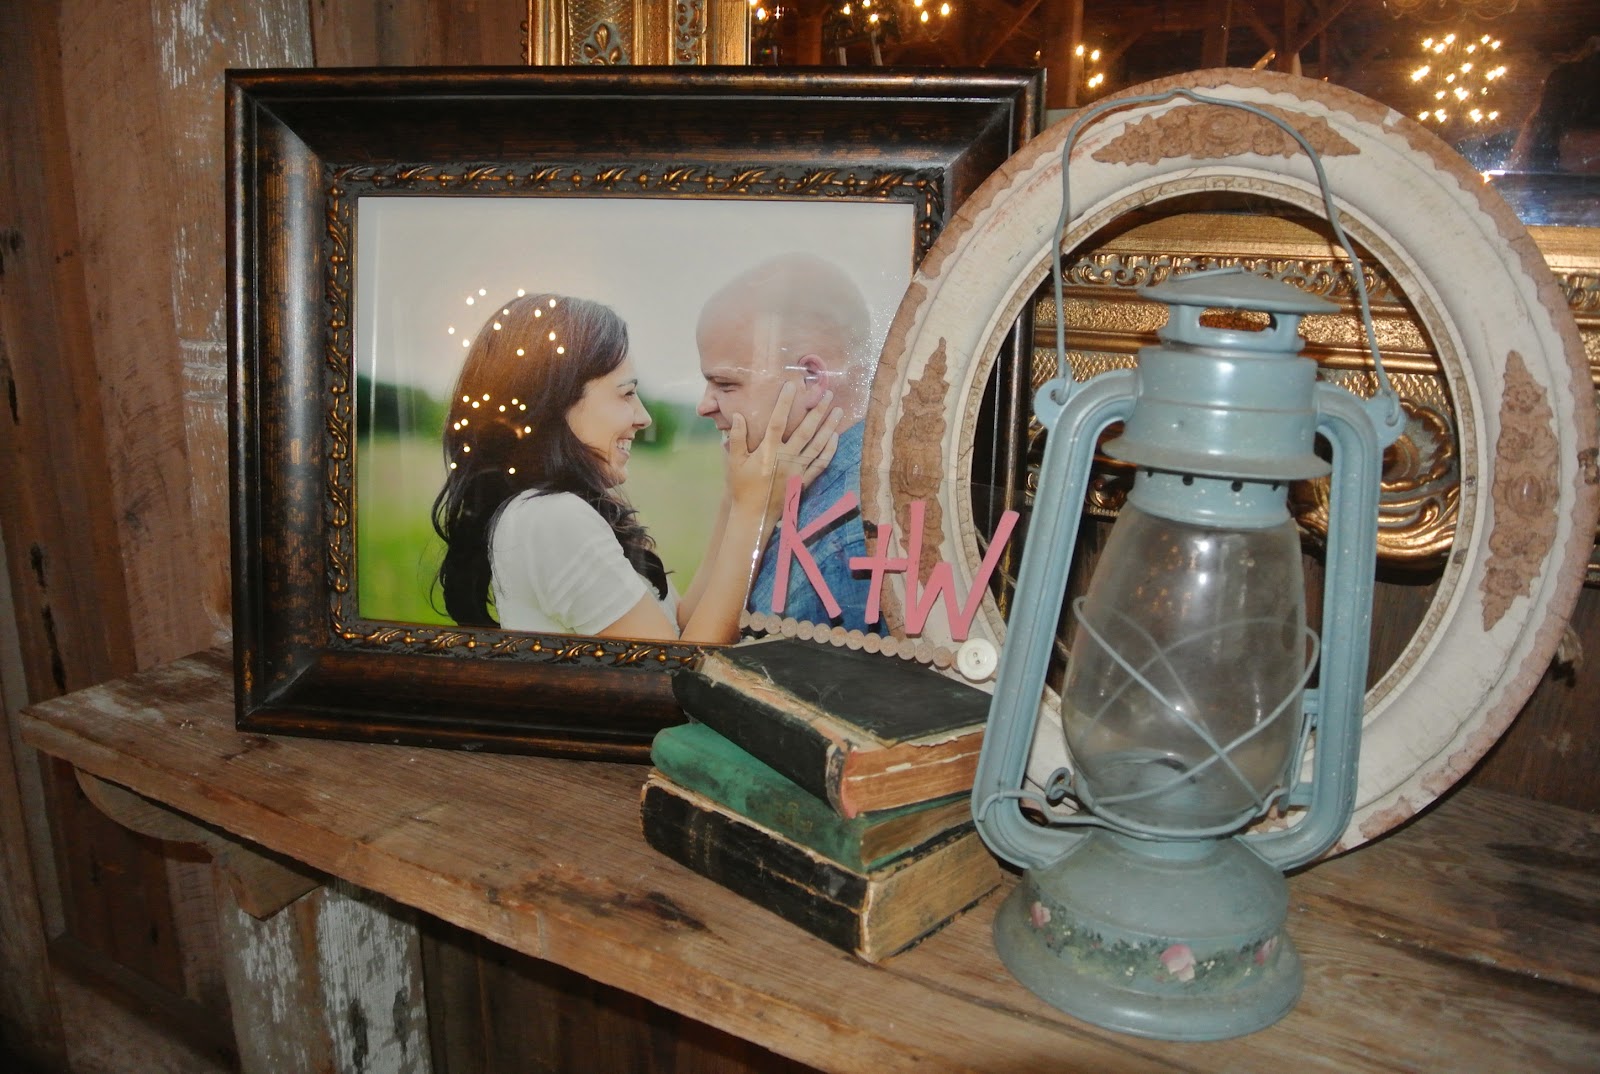
 I set up a table in which the guest could leave the bride and groom a personalized note...I cut down some vintage file cards that someone recently gave to me.


 Leave a note and then file it back into the drawer!! 

 This table was set up to give away the wedding favors....Vintage Hankies!!
 The sign reads: "Take a hankie to dry a happy tear"
 Through the mirror you can see a little of beautiful building! 

I know that was alot of pictures, but there will be more coming...so I will post a part 2 of this lovely vintage wedding!! 

Vera


Tuesday, July 24, 2012

Juliette's Vintage Candy Shoppe Party...

Oh wow.....ummm I wonder why I never got around to this post of Miss Juliette's 2nd Birthday party...I am sure any mom could relate...way too much going on!! But, any ways...Juliette (we call her Juju) turned 2 at the end of April and I spent a good bit of time creating a little Vintage Candy Shoppe for my little momma!!

I previously posted about the invitations I made and where you can purchase some awesome DIY invitations on etsy!


I also made a post about finding great birthday products and where I got my inspiration! The color scheme was aqua, red, and pink!

Photo from TomKatStudio


So here are a few collages I created of her special day!

I wanted to try out different filters on my pictures...so please excuse the variation in pictures! 

So I have broken down this post into a few categories...

1. Cupcakes & Candy (which includes the food/cake/candy of the party)
2. Decor (all the details and decorations)
3. Party Details (games, goodie bags, invites, etc)

So one of my most favorite things about her party was her ladder display of cupcakes!! I decided to use an old vintage 12 foot ladder that I have acquired since moving into our new house! I put wood planks across the ladder horizontally for the cupcakes to be displayed on!  I have a friend at work who makes the best cupcakes...Lainey can bake like no body's business!!! She is super talented and I always tell her I am ready to invest in her business because I know she would be a huge hit!! Here is a picture of the Cotton Candy Cupcakes (complete with individually wrapped cotton candy on a stick!!) I found little mini chalkboard planter sticks at Michael's a while back and they really came in handy for the party!!

We had three types of cupcake flavors:
1. Cotton Candy

2. Pink Lemonade
3. Strawberry Cream Cheese
The party was of course complete with a Vintage Candy Bar...
We had blue, red, and pink candy of course...blue and pink jelly beans, gummies, rock candy pops, sour cherries, pink malt balls, and strawberry wafers to name a few.
 We also had a fruit bar with various dips! The food was a success...it was truly the first party I threw in which I didn't have tons left over...I like the idea of simple party foods...stick to a small menu, but foods that everyone loves and you can't go wrong!! I mean who doesn't like cupcakes, candy, and fruit...prefect for your sweet tooth!!
The small cake in the middle was also made by my friend Lainey! It came out precious + it was delicious!!


I created banners by taring fabric and knotting it to twine...and then voila...I hung it up!!  I also created Dollie banners and draped them from side to side. I created a cluster of tissue balls and hung them from the center of the ceiling!
 Here are some pictures I took with my iphone too...
 of the tissue balls, garland, and Dollie banners

They were so super easy to make...you can find a ton of tutorials on pinterest helping you with this task!!

I decorated old wine bottles and also spray painted mason jars...and put flowers in them for added touches!


With the help of the hubby...I spray painted a large plank of wood with chalkboard paint and created a large chalkboard for all the kids to use (and a large place to display "Happy Birthday Juliette!") Plus...the kids are still using this chalkboard!!


I also set up a spot in which the kids could take a quick Polaroid using my instax camera...I made sure to include props and lots of jewelery for the kids to put on when taking pictures! It was the home made version of a photo booth!!


I set up a section at the party for family members and friends to leave a birthday wish for her! Some of the notes were so sweet and I will save them for years to come...and look forward to the day she can read them!!
After the note was complete they were able to use a clothes pin to clip the little birthday note to the old screen window!

Here is the birthday girl!  I bought her birthday dress from the etsy shop called Rock-n-Baby Boutique

From Rockn Baby Boutique

Lastly, the kids favors....what else other than toothbrushes...right?? Couldn't think of anything better!


 It was alot of work, but thanks to Juliette's Nannie for helping me out with all the set up and after looking at this video again...it makes everything all worth it!!


Thanks for stopping by!

Related Posts with Thumbnails